Tuesday, 24 December 2013

Christmas Eve


A very Happy Christmas to you all, and a happy and healthy New Year xxx


I've just got one more Christmas card I want to share with you, which I created yesterday for a special friend:

I used the beautiful Graphic 45 Twelve Days of Christmas for this card.  This is a large card, measuring 8" x 6".


The topper is from a die-cut topper sheet and I used the largest one there.


Two Prima resin treasures on the front:


 I'll add some more details of what I used later. Right now I have a Christmas dinner to cook :) Have a great time. Stay safe!!

Saturday, 21 December 2013

Christmas!!


Oohh we're almost there. I just love Christmas and all the anticipation :) Our tree is up and it looks just beautiful.

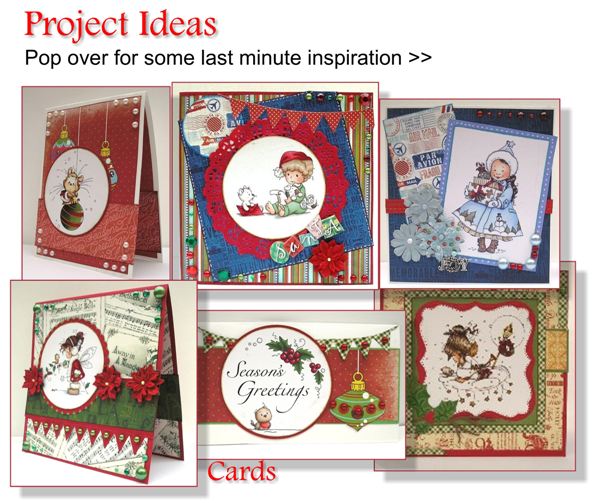
I hope you are ready? If not here is a lot more inspiration:

www.charmedcardsandcrafts.co.uk/acatalog/christmas_card_ideas_13.htm


http://www.charmedcardsandcrafts.co.uk/acatalog/christmas_projects_-_snowman_and_stocking_cards.htm
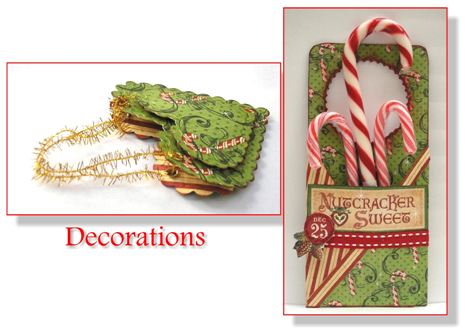
http://www.charmedcardsandcrafts.co.uk/acatalog/Christmas_Project_Ideas_-_Christmas_Heart_and_Door_Hanger.htm#Christmas_Tree_Heart_
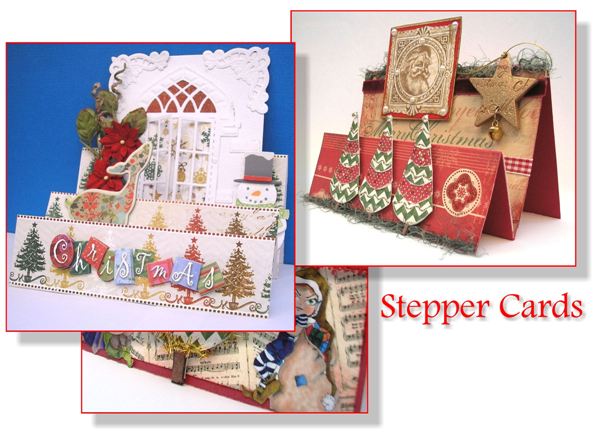
http://www.charmedcardsandcrafts.co.uk/acatalog/christmas_card_ideas_-_triple-step-card.htm

Have fun creating  :)

Thursday, 12 December 2013

A litle christmas inspiration

Hello girls

I had to make a project for Copic Marker Norge as one of their DT. We have a advent calendar on the blog.

I wanted to make a card using Lou`s template for a stall card, love that template for making small scenes.
I also wanted to use one of my all time favorite digis from Lou, this christmas pixie is stunning and I have used her several times.

I live in North Norway and we have "mørketid" here now. The sun is gone for about two months,so it is quite dark here. So I needed to make something that kind of gave light.... 

I had a vision of a winter scene in white and differnt shades of blue.

No more said, here is a couple of images of my card. Hope you like it.


I`ve been using different Marianne dies and a couple others, some stuff from my stash and so on. I had a blast making this card and it is easy to make, even tough it seem difficult. 
Just follow Lou`s class HERE

So I hope you enjoy these last days towards christmas.

Tuesday, 10 December 2013

CLASSES: Tea Light Card, and Stepper Cards

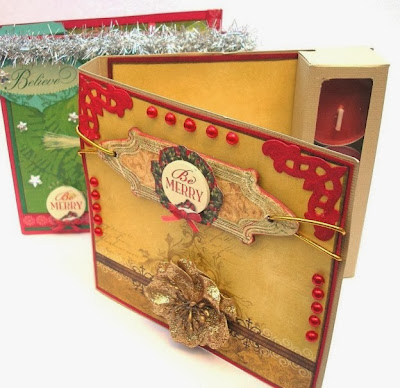
Two great classes on site for you. A fab tea-light card and a stepper card tutorial. Easy to follow instructions:

Click on the pictures to go to the classes:

http://www.charmedcardsandcrafts.co.uk/acatalog/christmas-card-ideas-tealight-card.htm

http://www.charmedcardsandcrafts.co.uk/acatalog/christmas_card_ideas_-_triple-step-card.htm

Saturday, 7 December 2013

Facebook Give-away

Fancy a nice Christmas present from Charmed Cards & Crafts?


https://www.facebook.com/CharmedCardsAndCrafts

Click image to go to our FB.


As has become a tradition we have daily draws amongst orders placed in December, plus two people will win a large prize when we pick two winners in January amongst all orders placed this month. So you have a triple chance when placing orders in December :)

Sweet Sentiments....

Good morning weekend :) Hope you have woken up to good weather and good vibes :)


We recived two new collections from Graphic 45: Couture and Sweet Sentiment, last week, and I fell in love with the colours in the Sweet Sentiment range. I had to make a birthday card for a dear friend who has recently suffered a horrendous loss, and didn't want it to be too jolly and cheerful. The mellow and gentle hues of the "Violet Bouquet" paper was perfect for the job. I decided to use a "Silver Fairy" die-cut topper as my centrepiece. These are fabulous and already coloured in, so ready to go, we have lots more HERE.


The turned-down corner is a very simple but effective technique that I have been using for donkeys years. It's lovely with double-sided papers as you simply turn the paper down and fasten it. Put a piece of the main paper at the back of the now exposed corner.


 A coordinating inside, using the same paper, as you can see I used the reverse side to cut strips for both front and inside.  I used Spellbinder dies inside, and the larger die for matting my image on the front:


 I had some berries and used them with "Wedding Day" Roses and sprigs cut from a Spellbinders D-Lites "Sprigs" die. A Prima pin was tucked in there too. The corner is a mixture of pearls and crystals.


Thank you for visiting the Charmed corner. Have a great weekend xxx