Showing posts with label Tutorials. Show all posts

Tuesday, 21 January 2014

Using Large Paper Designs on Cards...

Have you seen papers that you love but think they are not suitable for cards because of large patterns? Think again. Most paper companies these days produce 6x6 or 8x8 pads for card makers, but don't dismiss the 12x12's solely because of larger patterns, instead look at them and think "how can I incorporate this into my design".


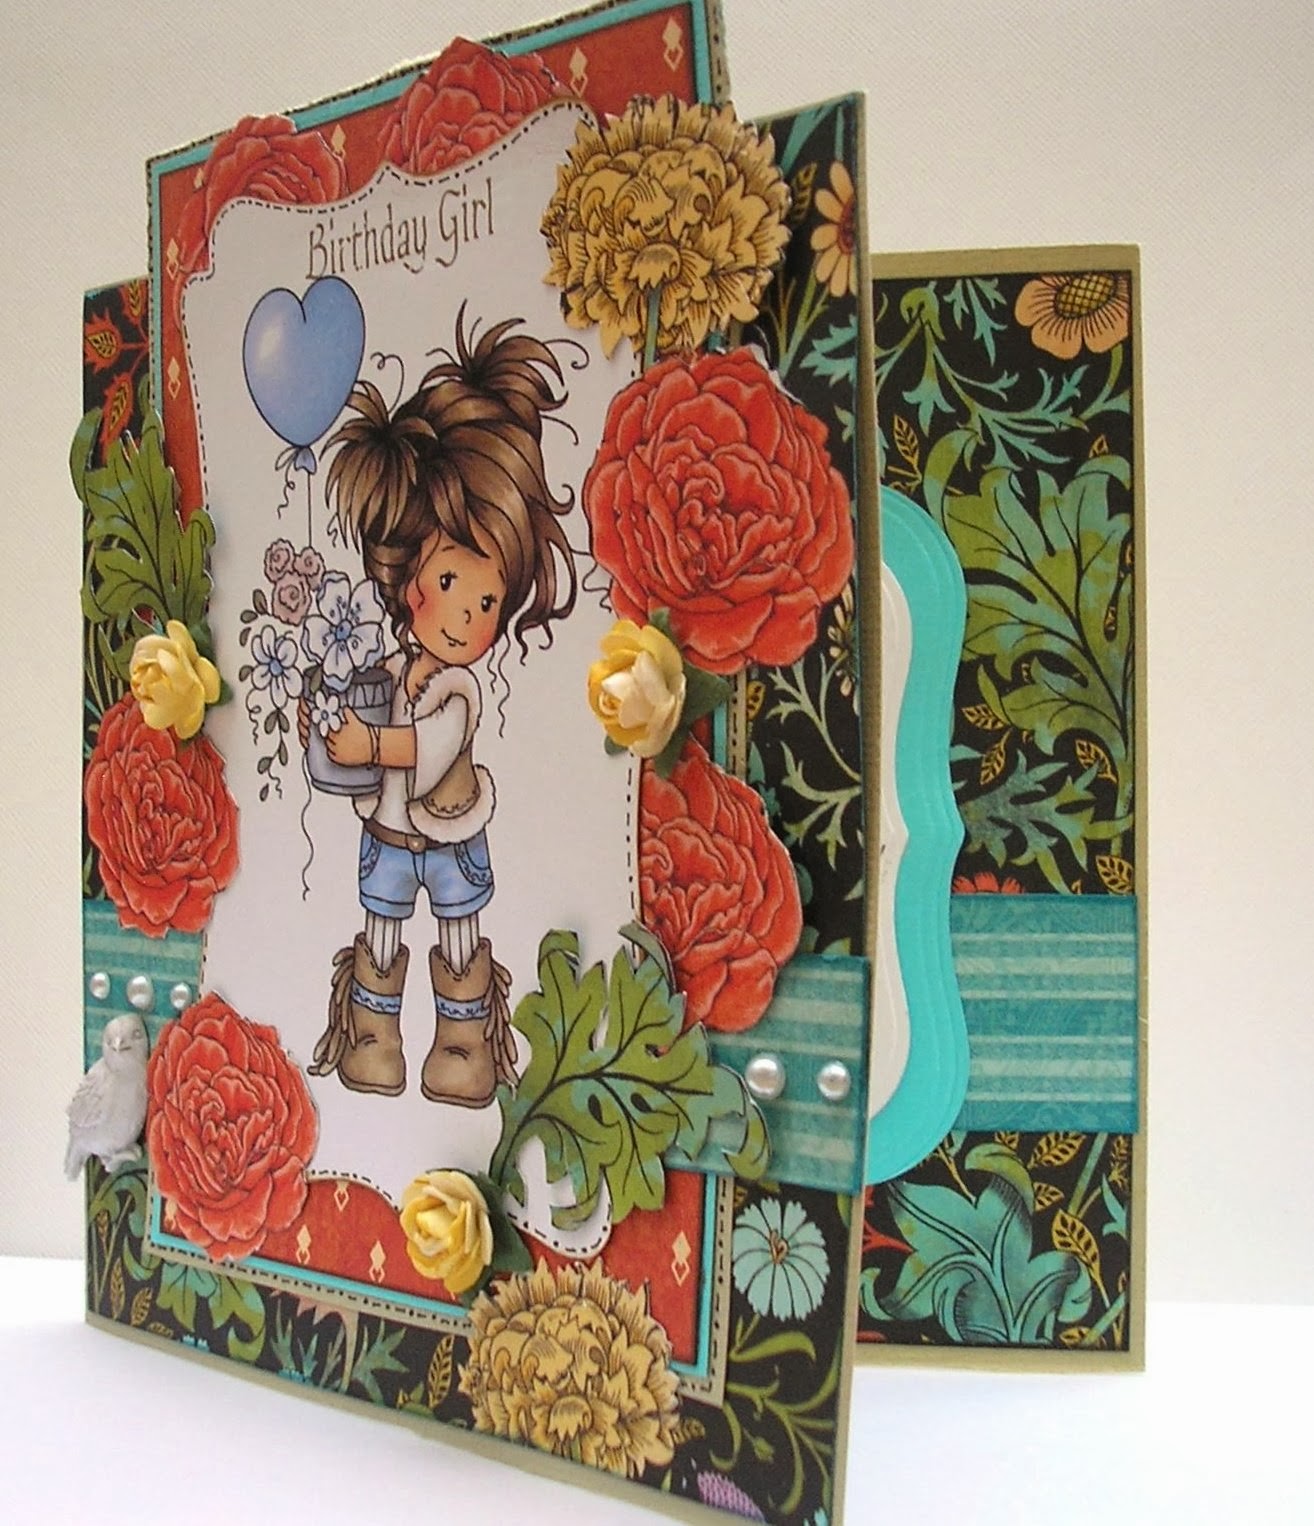
The paper I am using here is "Gorgeous" from the Graphic 45 Couture collection. This is a larger card, measuring 8" x 6". Cut a fold 12" x 8" piece of plain cardstock into 8" x 6", then measure a piece of the Gorgeous paper slightly smaller to go onto the front, don't glue it on yet.

Create a centrepiece. I used a Wee Stamp topper from the "Hopeful" sheet  on another of the Couture papers "Lovely" (I used the largest image).  Arrange where you want the topper piece to go, then using a craft knife cut around the large flower designs that lie around the edges of your centrepiece, cutting only the areas that are below your design, so that the flowers are still part of the background paper, but will lift in part and sit on top of your topper..

Glue your background paper onto the front of your card, taking care not to glue down the cut areas.

Glue the centrepiece on the card, ensuring you lift the flowers to sit on top. I added a little border strip that I cut from a piece of the reverse side of the Gorgeous pape (it is a double-sided paper). I then cut out various pieces from the remaining sheet, including more flowers and some leaves. TIP: If you are going to pop flowers behind something, cut them in half. The top two roses behind the wee stamp topper is one rose cut in half.


I finished the card with a Prima Resin bird, a few roses, and pearls, but it didn't really need much more; that one sheet of 12x12 paper gave me not just backing paper, but also amazing embellishments for my card.

http://www.charmedcardsandcrafts.co.uk/acatalog/shop.html


 The Graphic 45 range often comprises gorgeous larger patterns, I hope I have encouraged you to try using them for your card making :)

Sunday, 30 October 2011

Tutorial - Quick Paper Piecing

  • In this tutorial you will be learning how to create a professional looking  image within a minimum amount of time and without wasting a scrap of paper.
  • The papers I have used here are my current addiction; BasicGrey Picaddilly 6x6*
  • The owls are digital downloads from Charmed Cards and Crafts designed be me, Louise Brigden.*
* To view or purchase these items please click on the shop at the top of the page

Paper Piecing is my fave technique and if you use a simple, large enough image it is very quick and simple to achieve fabulous results.......
  1. Open MS Word. In the settings alter your paper size to; custom/ 15 X15 cm
  2. Now insert your desired picture and re size if desired.
  3. Insert 4 6x6 (15cmx15cm) papers of your choice into your printer. NOTE two of these pieces will be the background papers for two cards so I would advise you to keep two of the papers fairly neutral.
  4. Print out.
  5. Now take your two patterned pieces of paper and cut the elements of the image you wish to adhere to your background image. All the little bits will now be pieced together like a jigsaw onto your neutral background image.
Please Note; On completion of the two owls I decided  I wanted the eyes to be white so I printed the eyes another two times onto white paper. If you have the 'know-how' it would be good to crop the eyes and duplicate them to save on paper and ink.
Now you can create your cards and use up all the little bits that are left over. Here I have made two easel cards. Making these torn crumpled flowers and leaves is a great way of using your scraps and it's cheap too!
Have a go It's easy!