Saturday, 10 May 2014

Santora Mirabelle Inspiration...


Santoro London have a superb range of products, and I think that the latest Mirabelle collection is the jewel in the crown. The adorable characters are complimented with a range of high quality products, such as speciality papers and a lovely range of embellishments. We had these in a while ago, and they have proven to be very popular.  On my example card I used only the 6x6 paper pad from the collection, and cut the image from the front of the pad (ensure you cut around the tape holding the pages together as it will otherwise tear the image), but there are beautiful images in the decoupage pad, the glitter stickers, plus the images come in stamp form too (restock of a few of the designs expected early next week).

The character used here is "Pursuit of Happiness", she is just adorable!


Card size is 7.25" x 6". I used three of the different sheets from the Mirabelle 6x6 pad for my card, starting with a glossy stripey pattern, then layering with a fabric infused paper (butterflies) and finally a glitter paper; a wonderful mix of textures. 

I used a piece from the Graphic 45 Botanical Tea "Hello Friend" as the base for my sentiment, and added some Crystal Glamour Dust to the rose on there. The sentiment itself is a Kaisercraft rub-on.

The lace is just wonderful, it is from the latest Prima releases. The reel comprises 1.5 yards of these beautiful 5-petal flower lace blossom, but that is about 27 flowers, so it really does go a long way. I topped each lace flower with a pink small open rose.  Butterflies and heart are from the Mirabelle Sticker sheet, and the sugar dots are Prima Princess Gems, the crystals are Prima too. Corners are Spellbinders.

The inside was decorated using the same papers to compliment the front:
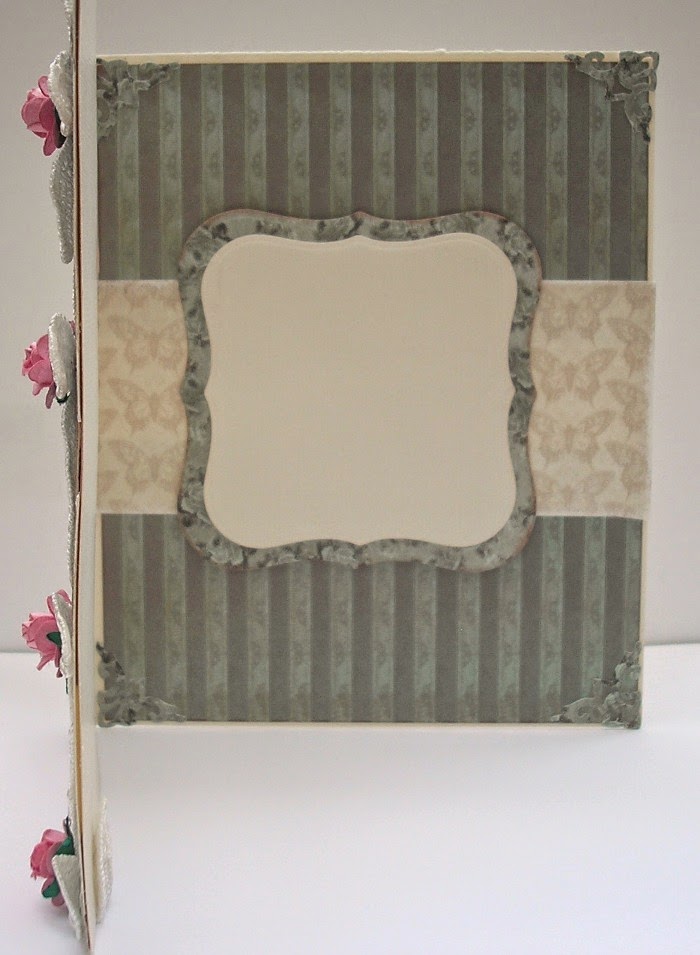


If you have never decorated the inside of your cards I highly recommend you give it a go. It creates a wonderfully luxurious card and take it up to another level. 


Keep an eye on our Facebook page this weekend, when we will be giving aways one of the 6x6 Santoro Paper pad and a Mirabelle "Pursuit of Happiness" stamp set.
Have a great weekend

Thursday, 20 February 2014

Just a Little Inspiration

Hello my Lovelies, Louise here. It's been so long since I Blogged that I forgot my password and they wouldn't let me on! Well, I'm here now and I've finally made a card that I feel is worth showing (one's mojo has been going through a dry spell!)
 Do any of you ever avoid crafting because you have a fear of sitting at the table and feeling blank then producing something which you feel is totally pants? It's a horrible feeling and one that is often the reason that I don't get any crafting done. Well, I think I have found a solution .....find some blummin inspiration! You all know the places to look right? Blogs are great for a start and we have some fab tutorials and galleries on the Charmed Cards and Crafts website. I guess what I am trying to say is, don't waste the talent you have by avoiding crafting, get inspired and get creating!
I hope this easel card which I have just made will inspire you a little....

Most of what you see, including the Land Girl digital download is from Charmed Cards and Crafts. Take a look you won't leave empty handed!

Tuesday, 21 January 2014

Using Large Paper Designs on Cards...

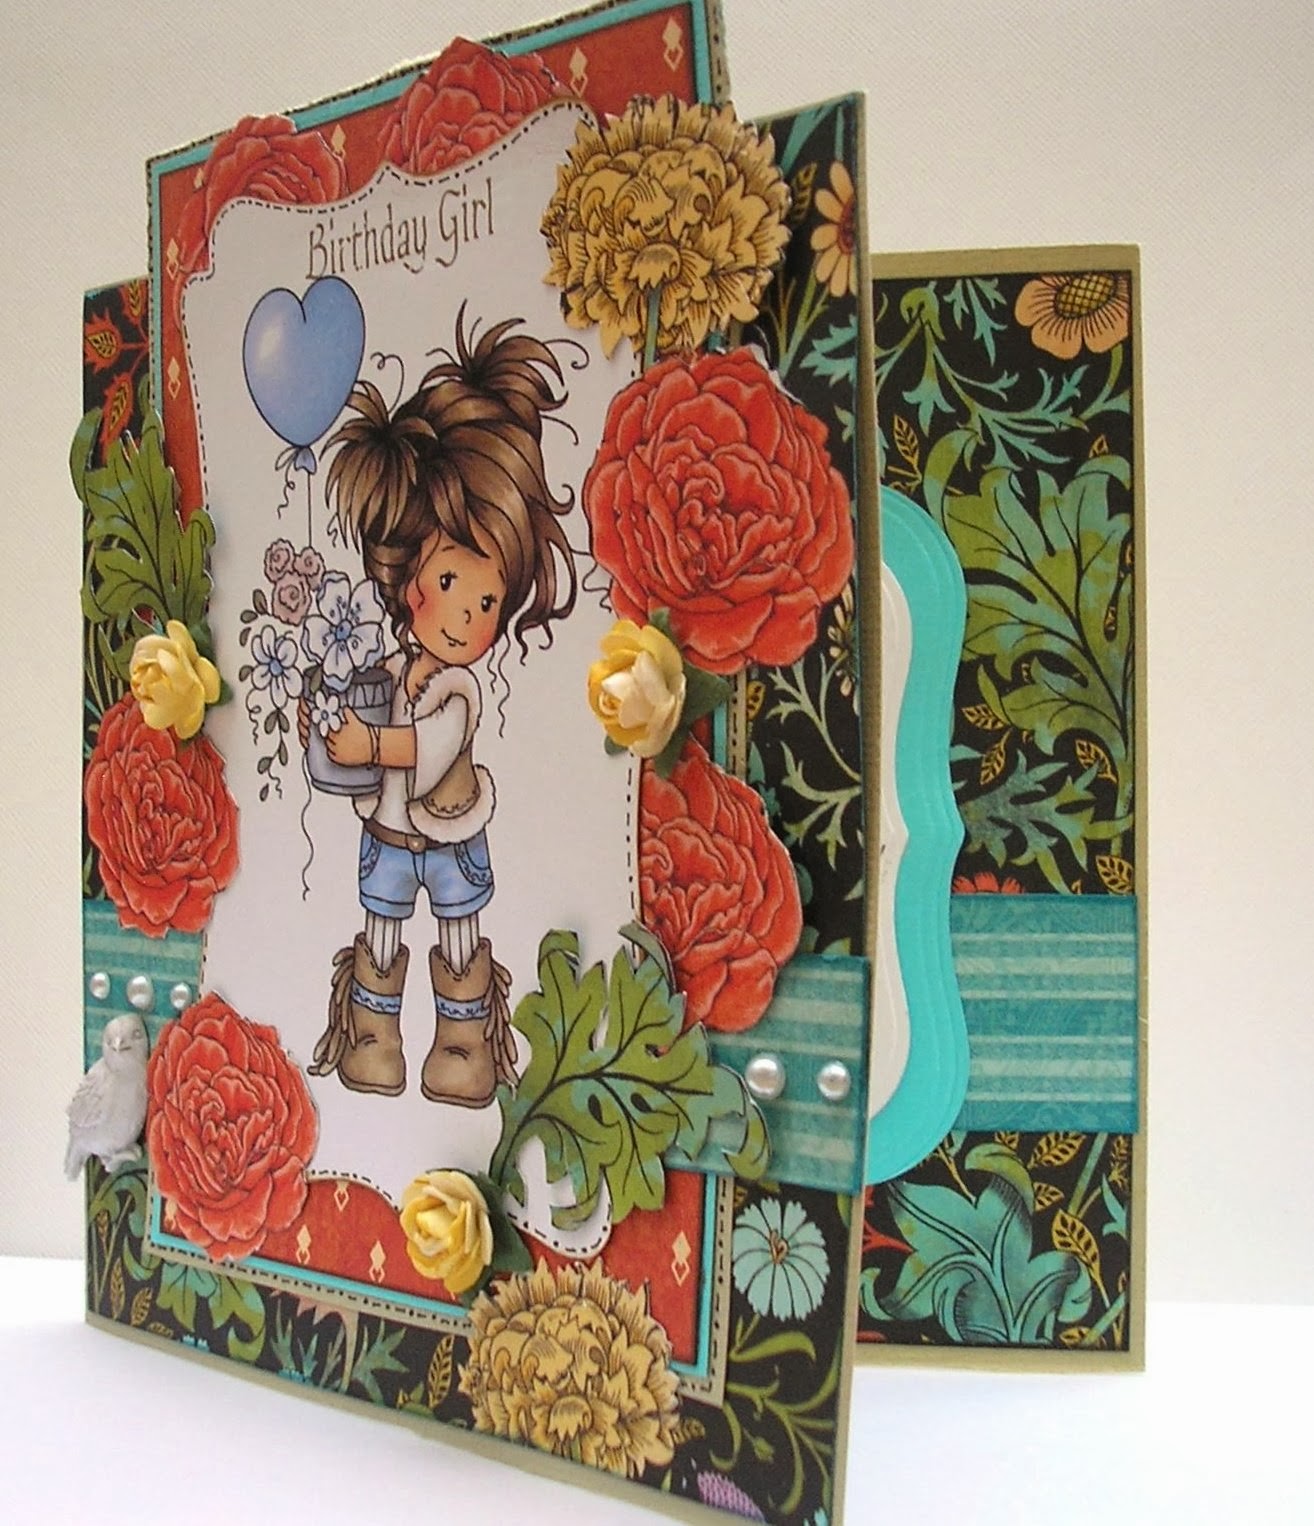
Have you seen papers that you love but think they are not suitable for cards because of large patterns? Think again. Most paper companies these days produce 6x6 or 8x8 pads for card makers, but don't dismiss the 12x12's solely because of larger patterns, instead look at them and think "how can I incorporate this into my design".


The paper I am using here is "Gorgeous" from the Graphic 45 Couture collection. This is a larger card, measuring 8" x 6". Cut a fold 12" x 8" piece of plain cardstock into 8" x 6", then measure a piece of the Gorgeous paper slightly smaller to go onto the front, don't glue it on yet.

Create a centrepiece. I used a Wee Stamp topper from the "Hopeful" sheet  on another of the Couture papers "Lovely" (I used the largest image).  Arrange where you want the topper piece to go, then using a craft knife cut around the large flower designs that lie around the edges of your centrepiece, cutting only the areas that are below your design, so that the flowers are still part of the background paper, but will lift in part and sit on top of your topper..

Glue your background paper onto the front of your card, taking care not to glue down the cut areas.

Glue the centrepiece on the card, ensuring you lift the flowers to sit on top. I added a little border strip that I cut from a piece of the reverse side of the Gorgeous pape (it is a double-sided paper). I then cut out various pieces from the remaining sheet, including more flowers and some leaves. TIP: If you are going to pop flowers behind something, cut them in half. The top two roses behind the wee stamp topper is one rose cut in half.


I finished the card with a Prima Resin bird, a few roses, and pearls, but it didn't really need much more; that one sheet of 12x12 paper gave me not just backing paper, but also amazing embellishments for my card.


http://www.charmedcardsandcrafts.co.uk/acatalog/shop.html


 The Graphic 45 range often comprises gorgeous larger patterns, I hope I have encouraged you to try using them for your card making :)

Wednesday, 8 January 2014

Thank You....

Crikey!! The weather we've been having huh!?! Unbelievable! I have never known anything like it. My heart goes out to all of you who have been adversely affected ♥ Let's hope it settles down soon. The US are seeing some incredibly low temperatures with the deep freeze continuing. Again I hope and pray all our American friends are safe ♥

Today's blog inspiration is a little thank you card, bet we all have a few of those to hand out after Christmas!


I used an older Basic Grey pad here, I think it's Wisteria. The background paper was cut all around the page with a Martha Stewart punch set. I then cut around a flower pattern on another one of the sheets from the pad, and layered that on top. The sweet little girl is a Wee Stamps card topper, this one if from the "Silver Fairy" sheet, I showed you a card using one of the other images on that sheet a few posts ago. I inked around the edges with distress ink and mounted it on coordinating cardstock. The little "Thank you" is a Basic Grey rub-on.

Banner was die-cut, I used the back of an empty embellishment pack as paper, waste not want not :-)   The ribbon and bow are actually purple, I just can't get the right light at the moment. Pearls, crystals and a little rose completes the card.

Faux stitching applied with an Inkssential pen all around the edges, then just a little Stickles to highlight the flowers she is carrying.


 Stay warm, stay safe, and see you soon xx


Saturday, 4 January 2014

Happy New Year!

Happy New Year to all our lovely crafting pals xxx We hope you arrived safe and sound into 2014. May this year be full of blessings for you xxx

Have you been following our Facebook Give-aways? We have introduced quick give-aways on our Facebook page and did they daily for a few days. We are now settling into a regular Saturday give-away slot and hope you will join us each week.

A little inspiration for 2014. Again I used one of the card toppers I used before, this one is from the "Hopeful" sheet. This is one of the large images and the resulting card is size 8" x 6". I have made this one shabby chic, with layers of distressed and torn patterned paper. I used Graphic 45's Couture paper ("Lovely" and "Style" as well as Bo Bunny The Avenues paper "Home".


I love the Prima resin and have used two of them here:


 I decided on a simple layout inside the card. The ivy here and the two corners on the front are cut from a Marianne Design Ivy die:


A Tim Holtz Distressing tool was used on all the edges for a distressed look and I tore into some of the paper. Also used: Roses - Large Prima Flower -Pearls - Ribbon - Spellbinders dies - Tim Holtz Adage Ticket - Stickles - Button - Imaginisce Polished Pebble Brad


Tuesday, 24 December 2013

Christmas Eve


A very Happy Christmas to you all, and a happy and healthy New Year xxx


I've just got one more Christmas card I want to share with you, which I created yesterday for a special friend:

I used the beautiful Graphic 45 Twelve Days of Christmas for this card.  This is a large card, measuring 8" x 6".


The topper is from a die-cut topper sheet and I used the largest one there.


Two Prima resin treasures on the front:


 I'll add some more details of what I used later. Right now I have a Christmas dinner to cook :) Have a great time. Stay safe!!

Saturday, 21 December 2013

Christmas!!


Oohh we're almost there. I just love Christmas and all the anticipation :) Our tree is up and it looks just beautiful.

I hope you are ready? If not here is a lot more inspiration:

www.charmedcardsandcrafts.co.uk/acatalog/christmas_card_ideas_13.htm


http://www.charmedcardsandcrafts.co.uk/acatalog/christmas_projects_-_snowman_and_stocking_cards.htm
http://www.charmedcardsandcrafts.co.uk/acatalog/Christmas_Project_Ideas_-_Christmas_Heart_and_Door_Hanger.htm#Christmas_Tree_Heart_
http://www.charmedcardsandcrafts.co.uk/acatalog/christmas_card_ideas_-_triple-step-card.htm

Have fun creating  :)