Tuesday, 30 August 2011

Eid Mubarak

Hello everyone, Louise here.
Today is a very special day for Muslims all around the world. It is the day of Eid and it marks the end of Ramadan. I will be celebrating later on today with my partner and I have made him this  lantern as a little token
Last year I made him a card, but it's hard making cards for men at the best of times - themes for Eid seem even more limited! I decided to have a look through my Silhouette library to see if there was any inspiration. There were a few nice ideas but I decided to have a look at their online library...... low and behold, look what jumped out at me! Perfect! I have to say, I have been a Charmed customer for years now and my Quickcutz Silhouette has to be my favourite purchase ever!
I simply fed brown card into my Silhouette and press 'cut' popped out the flat shape and folded is into a lantern as you see here. To give it a bit of an aged yet magical look I sprayed it with Sticky Fingers 'shake-n-spray Gold ink.(not sure if Charmed still stock it but its ace! it's lasted me forever!)
Anyhow it's time to go and beautify myself for the party.
Eid Mubarak everyone xxx

Monday, 22 August 2011

A card for my Hubby

Hello
I am finally home from vacation and had some time to play with this new collection. I really love this one. So fun and a dream to color.
My hubbys birthday is in the beginning of september and I had to use this image and sentiment on his card. Had a fun time making this. So now I just have to get him a present for his Bday.


Image and sentiment is from the collection: Let it shine. papers are some old scrap and some is from TH and I really can`t remember the company, but the collection is called: Once Upon A Time, and old collection. Flowers are punches, ticket from Pink Paisly and charms are really old stuff from my stash.
So I hope this is for some inspiration to you.
Gunn :-)

Saturday, 20 August 2011

FREE KNICKERS!


Ha ha ha, bet that made you sit up and take notice :-) We are of course giving away free downloads again. This time our lovely Louise has created a smashing set of fun-ness that is bound to make anyone smile. This is about something that we all have known about for years - that chocolate mysteriously make our knickers shrink! Strange isn't it? Baffling wouldn't you say? The bundle comprises several pairs of knickers , along with sentiments. Sentiments are with "knickers" pants" and panties" - so you can use them where ever you are.

Here is a lovely example card created by Lou.


Lou used:
Free Knickers download Bundle
Cut and Paste cake embellishments
K&Co Lotus Tea Box papers
The card is an Easel card, you can find instructions how to make that HERE.

ENJOY the free downloads. Come back with a link when you have created something, we would love to see what you have come up with.


Candy Winner

Oops, I'm late with this, sorry guys. I wont chit chat, just get down to the nitty gritty. The winner was chosen at random.org:


That is MARY LOU. Congratulations to you Mary Lou, please email me to get the bundle. Thank you to all who "had a go" x x - there will be a MAJOR candy next week, you do NOT want to miss out on that, believe me.

We have a freebie later today, so come back and get it :-)

Thursday, 18 August 2011

New Goodies

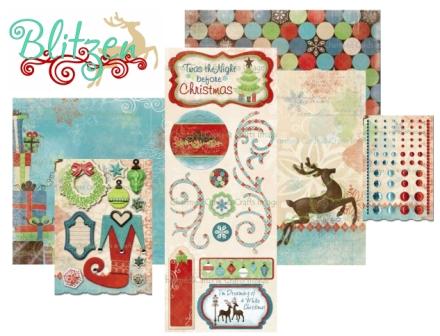
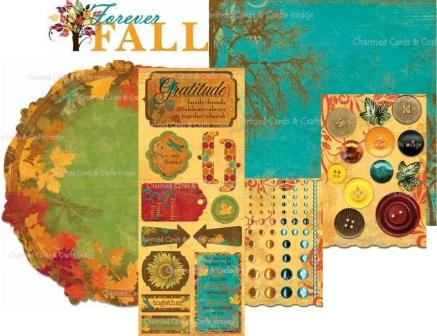
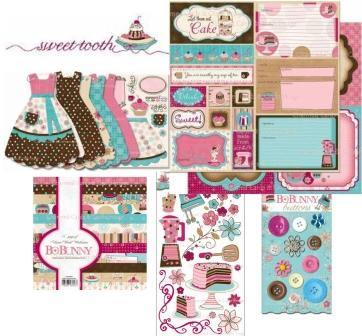
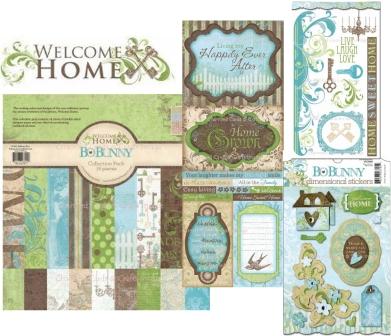
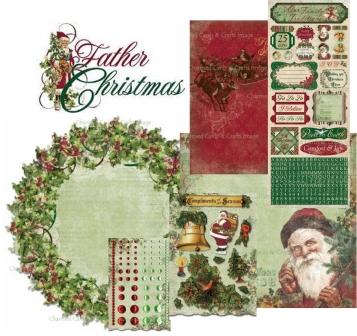
Things have started to arrive from all the new releases at the CHA trade show. We have many more fabulous goodies to come, but here are what arrived yesterday:


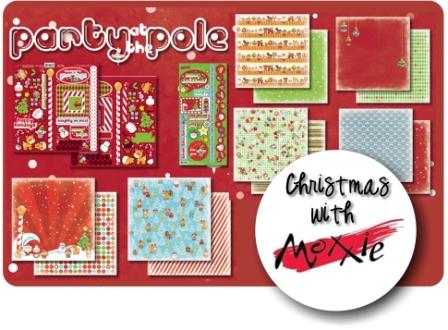
Christmas Emporium and Magic of Oz


Halloween Papers

Ooh tis a luverly time of year :-)


Sunday, 14 August 2011

Techniques - Stick Pins

Hi gang, hope you are all having a wonderful weekend. It has brightened up here in London, and I actually managed to get a little colour by sitting in the garden. Woohoo! Long may it last!

Our wonderful DT member Maddy Hill posted this to the forum a while ago, and I would like to share it with you here on the blog:

Did you know that hidden in the depths of the massive Charmed Cards & Crafts shop are some fabby little beauties called stick/hat pins .Now if you buy them pre-done they cost a lot more than making them yourself ....all you need is this ..


Now you get 12 in a pack - but they are long so you can half them with pliers.
One end is the stick end (you need a dab of glue to secure it in place ) and the other end is a head pin end , this makes it possible to get 24 pins !

Add some beads - a dab of glue on the last bead keeps it in place, add some glitter to the stick if you wish, and some mesh, and voila! You have fabby gorgeous hat pins, and 24 of them and you have saved some pennies !

This is what it looks like finished ..


Aren't they just fabby - I am so chuffed I had such a good root through the shop !!!


Stick Pins
Maddy also used on card:
Lace
Flowers
Tilda Stamp
Mesh
Paper
Ribbon
Crackle Paint
Glitter
Beads
Thanks Maddy for a GREAT idea! xxxx


Saturday, 13 August 2011

Crafty Storage - Brads

Hello Folks Louise here, I hope you're all enjoying the beautiful weather, it's raining here but I actually think the rain is ace so for me that's beautiful :)
I've been giving my craft room a make over and it's all been such fun! I can't show you the photos of the room yet because it's not all finished but I would like to show you a really neat storage idea I came up with. Some of us collect stamps, some love buttons but the thing I have wayyyyy too many of is brads. I suppose it's a good one to be a hoarder of because they are small. I always kept my brads very well organised in those plastic white boxes but every time I wanted to use a brad I had to go through them all to find the one I wanted and some really fab ones were sometimes missed. I was doing some blog hopping recently and I stumbled across a really cool idea; this lady had used a cork notice board to stick all of her brads in, so the were all there on her wall in front of her as she crafted. I wondered if maybe a cork board wouldn't quite be deep enough for some of the brad stems and then....I had a brain wave! canvases are in all the shops right now and sometimes very very cheap....perfect! I already had this hanging set of three in my cupboard, it was about £4 from The Works....I got to work......
so now all of my brads (actually not ALL I ran out of space) are on show and ready to be 'picked'

All you have to do is prick the canvas with a craft knife and pop your brad in. Here you will see I have some spaces- that's because I had a crafting session with my step-son yesterday and he took a liking to them :o

The one drawback I can say about this is that they fall out easily but you could add some polystyrene to the back of your canvas to rectify this, or if you are very patient you can open up the backs of all your brads.
So there you have it, an incredibly handy storage idea that looks like a work of art for your room too! Please leave us a link if you make one, we'd love to see what you come up with.