Hi All,
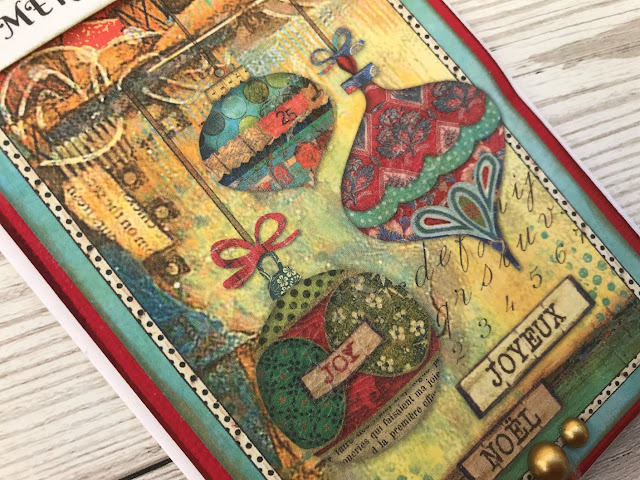
Christmas is approaching at a frightening speed; why is it it always takes me by surprise even though I think I have it under control? If you are behind then I hope you can take inspiration for Christmas cards from these super easy cards. I used two sheets of 12x12 Stamperia papers that had appropriate designs, these are from the "Make a Wish" collection. I used papers "Christmas Cards SBBL636" for the rectangle images, and "Christmas Rounds SBBL637" for the round images.
Most of the cards are A6 size, with the three largest in A5.
I cut out two mats, one slightly smaller than the card in a beige cardstock, and one slightly smaller in red. Using the holly design from the Kaisercraft stencil "Holly" I stencilled the design onto the red cardstock using Finnabair "Snowflake Paste" and left to dry. Once dry I inked the red cardstock with metallic gold ink, matted it on the brown cardstock, bound a piece of red velvet ribbon around it, and adhered this piece to the front of the card.
I cut out all the circles on the paper, inked edges, matted on dark brown cardstock, then brushed some of the rounds with Stamperia Crackle Glaze. Once dry they were mounted onto the front of the card on foam tape. I finished these cards with a sentiment and a little poinsettia. These are the round design cards (you can also find them in the "Make a Wish" pack):
Here you can see the crackle on the "Make a Wish" card.
I also added a Kaisercraft Flourishes Star from the pack "NORDIC" and added sparkle to the star with Crystal Glamour Dust:
The other cards with the round cut-out images:
Attach the round circles and sentiment on foam tape to elevate them as shown:
The rectangle cards:
The first card is A5 size:
The following cards areslightly smaller than A5:
Crackle glaze on baubles:
The paper has a corresponding journalling rectangle on the reverse side, so if you have two of each sheet you can use the second on the inside of the cards:
On the next card I added snow to the roodtops, brads to the tags, a glittery star, a lace strip and a sentiment - sorry my computer increases the brightness each time I try to crop etc, it is infuritating! No idea why it has started doing that. Colours are far more subtle than below:
So there you have a whole load of cards. These were really fun to make, and to be honest they looked even better in real life :) Find the Stamperia papers here
Happy crafting friends xXx


No comments:
Post a Comment